

Written By Kyle Stockbridge
Apprentice, Boom Box Post
It’s been some time since we’ve discussed the art of designing backgrounds here on the blog. Although backgrounds aren’t the sexiest food group in the sound editorial process, they’re absolutely crucial for providing the foundation of storytelling for every scene. Former BBP Sound Effects Editor Jessey Drake wrote a great blog post back in 2015 that outlines a practical guide to approaching BGs, covering technical aspects as well. As I’ve been covering more backgrounds here, I felt like I could build upon what she had written by doing a background design walkthrough, outlining some key considerations for how we approach backgrounds here at BBP.
APPROACH
When designing a background for a location, we must always consider first and foremost: how does it serve the story? What is the mood we’re striving to convey in this space as it pertains to the story? Which characters are occupying this space and how are they supposed to feel? Once we’ve established an idea for the story we’re telling, it’s time to design.
Backgrounds and ambiences can be as complicated or simple as the project demands. Today we’re only focusing on BGs. What’s the difference? Check out this post from Boom Box Post co-owner Jeff Shiffman for clarity on how we distinguish Backgrounds from Ambiences. For a lot of our shows here at Boom Box, the editorial templates only dedicate a handful of tracks for backgrounds and ambiences. A location could be as simple as 1 mono track and 1 stereo track, but for fully fleshed out background it’s good practice to start with 4 mono tracks 4 stereo tracks. You may be asking: “Really? Only 8 tracks total?” But this limited track real estate forces us to get the most out of each track, while making the mixer’s job easier as well.
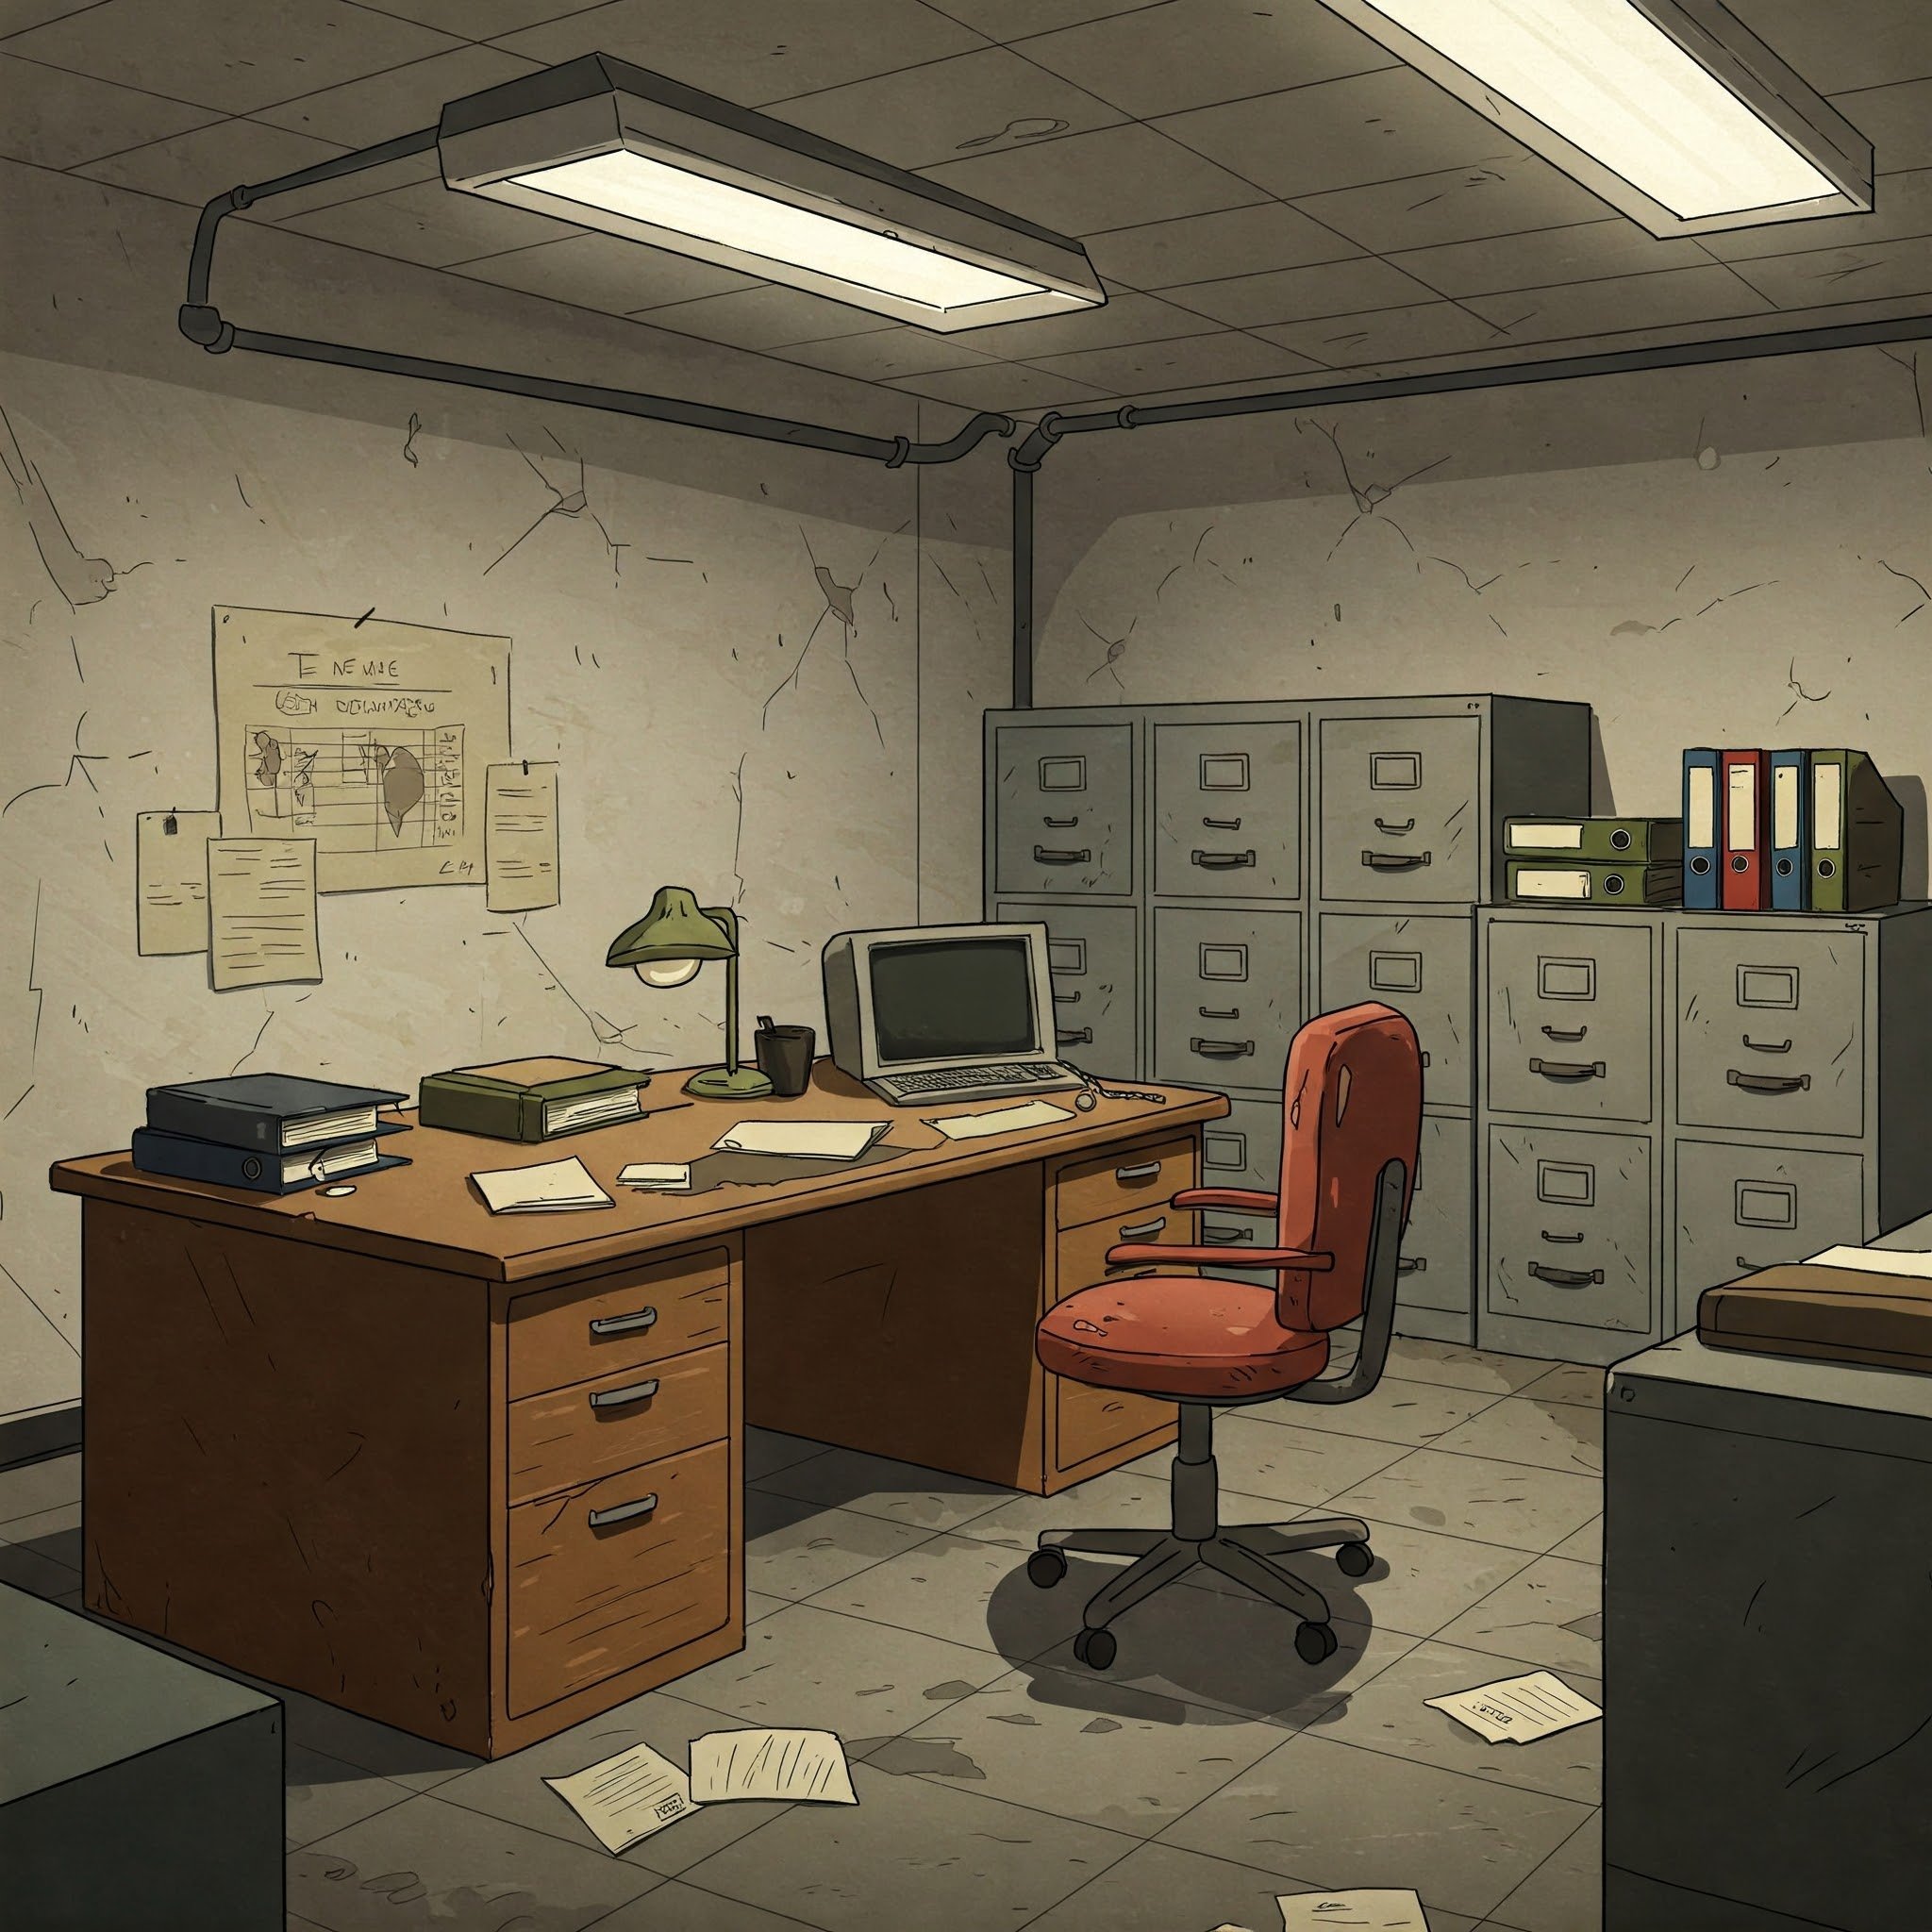
I was recently cutting backgrounds for an office location that hadn’t been established on the show yet, so the supervisor asked me to design it from scratch. This particular office was intended to feel dull, dark, cold and depressing. Envision the stereotypical dimly lit, windowless, soul-sucking 9-5 office often portrayed in movies. We’ll use a similar location for our backgrounds guide today!
Things to consider
Since we only have 8 tracks in total, let’s think about how to capture the essence of this office space with sounds that achieve one particular goal per file. We want to avoid slapping on a single “multi” or “all-in-one” file that includes many elements within the same file. It would be a nightmare to get to the mix stage and have a client ask for us to turn down one individual element just to find that it’s actually baked into a single file containing other elements of the background… if we turned this sound down we’d be left with nothing.
Be sure to listen to the full length of the recording to be sure there are no unwanted sounds within the file. For example: If you have a stereo file of morning birds chirping steadily for ~2 minutes but out of nowhere there’s a loud car honk, this can pose a big problem!
From a sound design standpoint, we’re aiming to fill out the frequency spectrum (lows, mid-range, highs) in a balanced way that will sound full but natural. While we search through our library for the different layers, we’ll want to consider which range of frequencies the recording is mostly occupying so that we can select complimentary sounding layers. But don’t let this hinder your selections; story always comes first!
Walkthrough
Layer 1 - Room Tone (1 mono track, 1 stereo track)
Let’s start with the “air” of the space. For interior locations, we’ll look for room tones. Room tones will generally be a broadband (full-spectrum) noise with unique EQ curves and resonances depending on size and shape. These tones may include hums, ringing, reverberations and other miscellaneous noise.
For this space I’m looking for a pretty standard room tone that depicts a small space and has a pinch of depressing flavors to it. One thing to be aware of are room tones containing too much high frequency (treble) as it will be distracting in the final mix!
Here’s our mono and stereo room tones combined together:
Layer 2- Fluorescent Bulb Hum (1 mono track, 1 stereo track)
Next, let’s think of the environmental sounds of the space. For an interior space let’s ask ourselves what could potentially make noise in a completely empty room? Electricity/Lighting is the first one that comes to mind (also, the supervisor put this in the spotting notes for me). For this office space we’ll find a demoralizing fluorescent bulb hum and we’ll put a mono hum up front to fill the close perspective and feather in one stereo hum for more a spatial layer.
Layer 3 - Ventilation Rattle (1 mono track, 1 stereo track)
Since we’re portraying this as an old unkept building, what other characteristics can portray this? Maybe some squeaky ventilation or a rattly radiator. Maybe drippy pipes or some subtle creaking from the building materials.
I decided to go with some vent rattle. If you don’t have a sound for this, think outside the box! This vent rattle is actually a shopping cart recording layered with a heavy computer fan hum, but in this context it sounds like a rattling vent!
Layer 4 - Clock Tick (1 mono track)
What else could contribute to making this place feel soul-sucking? Another element that comes to mind is the tick of an analog clock, with every tick serving as a reminder of time passing you by… This felt too dry straight out of the library, so I added a bit of room reverb using D-Verb. Here’s what it sounds like with and without the reverb:
Layer 5 - Machine Noise (1 stereo track)
I’m feeling like we can add a tiny bit more dread to this space. For this I’m choosing the constant whirring and humming from the machines and networking devices. Notice it’s a slightly different range of frequencies than the Flurescent bulb hum and vent fan layers and and fills the gaps. This is just one example. There are all types of hums from office electronics, industrial equipment, kitchen appliances etc.
Full Build (4 mono, 4 stereo tracks)

Achieving balance with Clip Gain
Obviously the mixer is going to have the final say on how our background layers are mixed, but we want to hand over something that’s in the ballpark. Using clip gain you can easily level out the layers as you build. Once the build is complete, it’s advised to come back and give a final adjustment to achieve balance. Now the final step is to coalesce clip gain to volume automation (Edit Menu > Automation > Coalesce Clip Gain To Volume Automation). This will reset the clip gain to 0.0 dB and convert it (along with any pre-existing track volume changes) into volume automation which makes it easily identifiable for the mixers as they’ll be looking at automation lanes rather than clip gain.
Location, Location, Location!
As a show progresses and as more locations are designed, it’s crucial to have these builds saved and available for future use! Take some extra time now to save a Pro Tools Session for each location you’ve built to a BG library folder and you’ll thank yourself later!
If you enjoyed this blog, check out these:
STARTED FROM THE BOTTOM NOW WE HEAR: A PRACTICAL GUIDE TO BACKGROUNDS
BACKGROUNDS, AMBIENCES OR SOUND EFFECTS
INSIDE SOUND DESIGN: FIELD RECORDING BACKGROUNDS AND AMBIENCES