WRITTEN BY JEFF SHIFFMAN, CO-OWNER OF BOOM BOX POST
Earlier this year, the team from The Loud House approached us with a brand new short designed as a 360° video for YouTube. Never having worked in this format, I did some searching and was surprised at how little information had been published on sound for spatialized video. After working it out for myself, I thought I’d share the details with our readers as a jumping off point should a project like this come across your desk.
Different Visuals Dictate a Different Approach
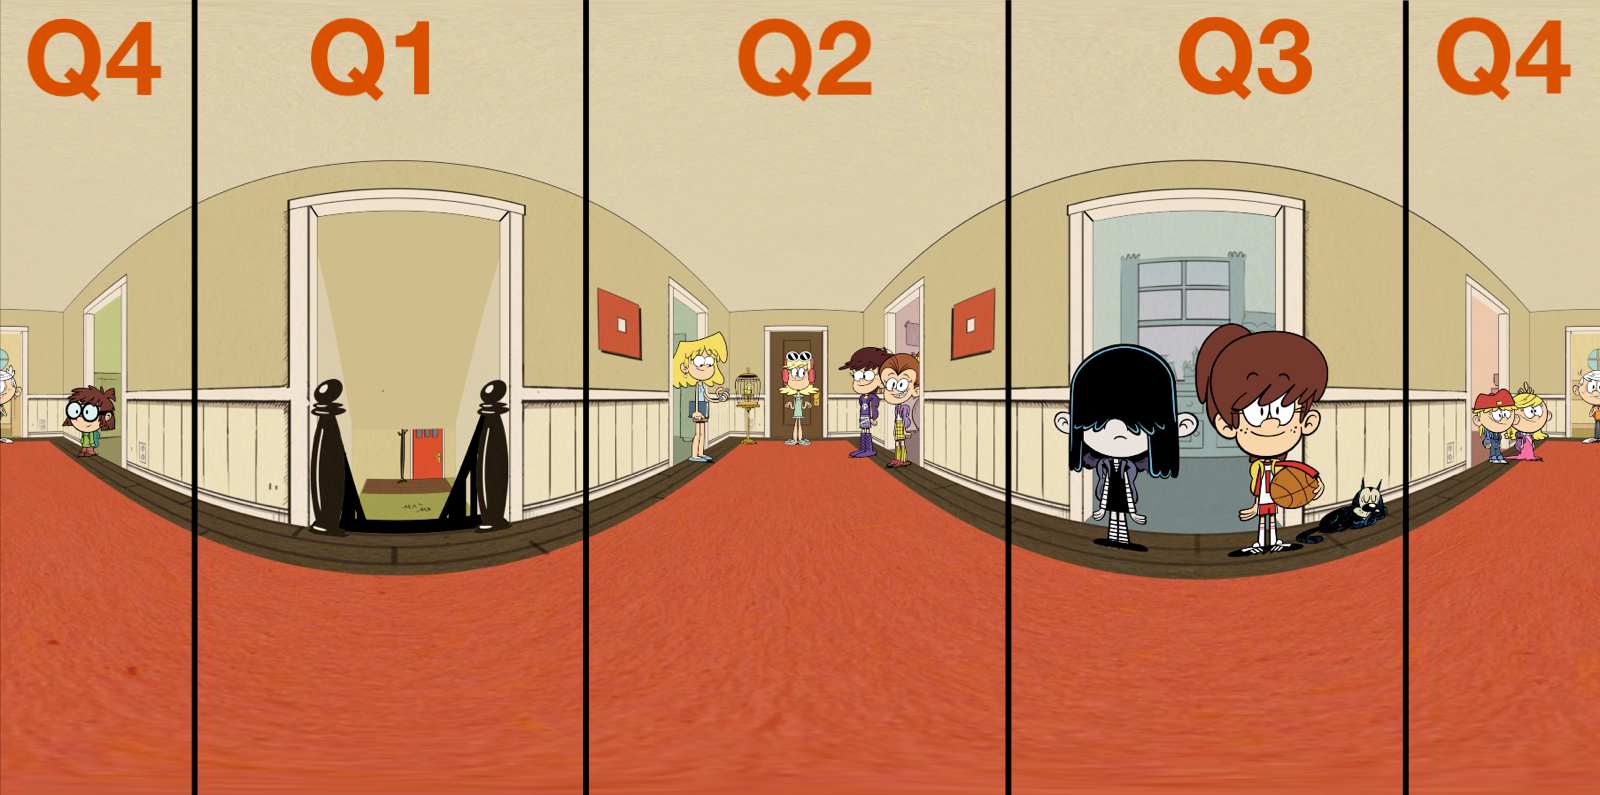
The Loud House 360° unfolded
360° videos are like atlases that represent the earth as a single flat image. The Loud family home doesn’t have curved ceilings and floors as represented by the above image. This rounded visual with curved seams is the unfolded representation of a cylindrical video (these seams get flattened back out when put into the 360 software). So how do you properly add sound to a video like this? For starters, to keep things straight, the video is split (for our purposes) into quadrants.
Unfolded video split into quadrants
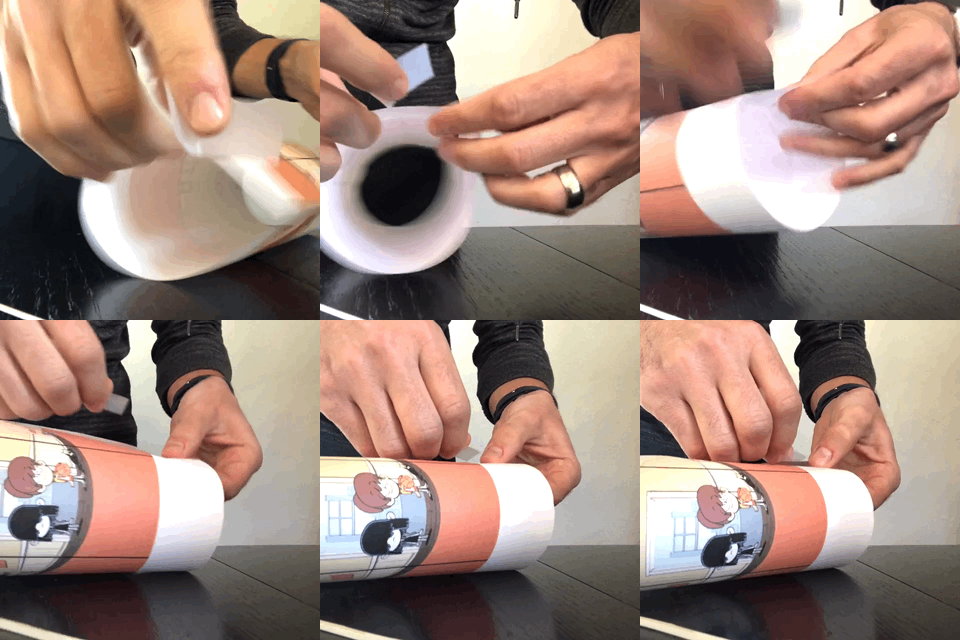
While it looks like there are two of Quadrant #4, in fact it is just visually represented as being split in half. Picture folding this image into a cylinder and you can see how each half of Lincoln connects into one image.
Think of each quadrant as it’s own mini video. If I could output a stem for the audio within each quadrant, the spatialization software could take it from there. So where to we start?
It’s All About Organization (Isn’t it always?)
For quadrant specific audio, we don’t want (or need) anything beyond a mono stem because we want to pinpoint the audio. I started by adjusting my mix template from a 5.1 set of routing down to just mono for dialogue and sound effects (music was another story but we’ll get there in a minute). Then I just duplicated the entire setup three times to give me four sets of tracks, add quadrant details. I gave these tracks to our editors with instructions to keep their cutting within the proper quadrants. This goes against our usual workflow; a typical dialogue edit would have one track for each main character but here our goal was to keep to the quadrants. In the case of this video, characters pretty much stayed in the same place so dialogue organization was a snap. For sound effects, we had a instances where a sound would cross quadrants (like the lizard sounds for example). In these situations, editorial was to be cross faded evenly across quadrants to match timing of the action.
quadrant specific dialogue track organization
quadrant specific dialogue track organization
Music (the complication)
There were two complications presented by the music. In each case, the important step here comes at the spatialization phase of the process (post mix). My job was to set things up for success.
First off was the introductory music at the head of the video. Every episode of The Loud House starts with a title card and corresponding music. For this music, I simply mixed it in stereo and output it entirely to it’s own stem.
The other issue here is Luna’s guitar playing, which carries through most of the short. I wanted to pinpoint her guitar playing to the quadrant she is located within, but didn’t want to lose the music too much when the viewer turns to see the action in the other quadrants. This guitar was placed on its own mono stem.
Instructions were given to not spatialize the stereo music at all, playing as score to the viewer. For the guitar, we wanted to spatialize this stem but with a much more gentle drop off into other quadrants
The Mix
The mix was much like any other Loud House session. With the unfolded video as our reference, we mixed everything to play as a balanced short. There were a few auditory cues that help draw the viewers attention to specific quadrants and for these we made sure they played a bit louder in the mix. Beyond that, the routing did all the heavy lifting. The one odd part of the process is not quite knowing how it will all come together in the end. Typically we leave a mix with confidence, knowing exactly what the final product sounds like but with 360° video, there’s a certain amount of control that needs to be left up to the spatialization process.
Putting it all in 360
Our job was to deliver the audio and it was Nickelodeon that did the final spatialization. But I can’t leave you without those details! I reached out to Youna Kang who works for Chris Young at the incredible Nickelodeon Labs. Youna detailed the process for the post:
For software I used Reaper with the FB360 Spatializer plugin and the FB360 Encoder. The actual spatializing of our stems was done with the positioning and attenuation settings. Each track needs to be accurate and fine tuned. Each track represents four sides of the space: Front, right, left and back. And you export out the final audio as 8 channels. We used the Youtube format with 1st order ambix but selecting 8 channels.
Lessons Learned
Spatialization can vary wildly from project to project. The amount of audio overlap desired between quadrants, how much movement you have across quadrants and treatment of music may completely change the way you approach your 360° project. Plan ahead and know what you’re getting into so you can set yourself up for success in the early stages. I met with Chris and Yuona and we talked through what they needed for a successful final spatialization. One conversation and it became immediately clear how best to approach the project. From there it was just a matter of getting the team up to speed with the new template.
Mixing for spatialized audio requires a lot of tracks! We were lucky that delivery requirements did not call for splitting out dialogue, music and sound effects or this mix session would have been massive. If you’re working in spatialized audio, be sure to have a powerful enough system for a potentially enormous track count.


