You may recall that I’ve written about creating signature sounds in the past. So, why write another post on the same topic? First of all, creating signature sounds is a skill that is absolutely essential to to setting yourself up as a high-quality professional sound designer. Second, that post covered a practical approach to designing signature sounds such as working on one sound at a time and designing in context. Here, I’d like to walk you through my actual creative process on a particular project.
This is not the sexiest blog post you will read this month. In fact, it’s probably the least sexy topic we’ll write about all year here at Boom Box Post. That said, it’s such an important one for anyone considering themselves a professional sound editor. A cluttered file structure is the equivalent of a messy home. Sure you can make do sorting through a mess, finding what you need after some intense searching. but why put yourself through it? Go to the container store, buy a pack of labels and some bins and get your stuff off the floor (I’m still on the messy house metaphor). So with that in mind, let me be your personal Peter Walsh (he is a professional organizer - I had to google it) as I help you to get your digital life in order.
We open on wide shot of a forest. A river runs in the distance. Not far from the river, emerging from the trees is a bloodied man in a torn business suit, limping and desperate for water. Cut to an over the shoulder shot of him staring at the river. Cut again and the camera is right on the water as he leans in for a drink. The focus (for our purposes) isn’t the man or his torn and blood soaked suit (I just added that for some flair). From a sound editorial standpoint, the complicated element here is the river. It’s far off in the distance, now it’s close to us, now it’s full frame in an extreme close up. As a viewer, the camera is our proxy here. Wherever the camera sits, so do we. And so, as the perspective of the camera changes so does our perception.
The entertainment industry can be tough. There are many cliche's, such as "It's all about who you know" or "It's all about right place right time." Neither of which are entirely untrue. However, I am a firm believer that anyone with some raw talent and a whole lot of drive can build themselves a career in post production sound - or any entertainment job for that matter.
If I'm making it sound easy, my apologies. It's absolutely a ton of work. Let me repeat that: getting a job in a highly specialized, creative industry where you are in competition with literally thousands of applicants will always be a ton of work. So why do it?
After buying our first home last year, my husband and I have been working hard at building our own home studio. In the past, every time we moved to a new apartment, we would always customize a home studio with our own DIY sound panels (see my blog post about that here). But since we plan to stay here forever, we have gone all out to make this studio space our own. And part of this customization has been soldering our own cables.
For my Lunch & Learn lesson I wanted to talk about something simple that everyone has most likely experienced in his or her daily life and during sound editing/designing. We’ve all heard it anytime we’ve walked down the street and heard an ambulance or police car passing by or maybe even an airplane. The point in time when you first hear the siren and the time when it has sped off into the distance sound different in pitch. I personnally get woken up everyday by hearing the Doppler effect of an airplane landing or taking off since I live 10 minutes away from an airport.
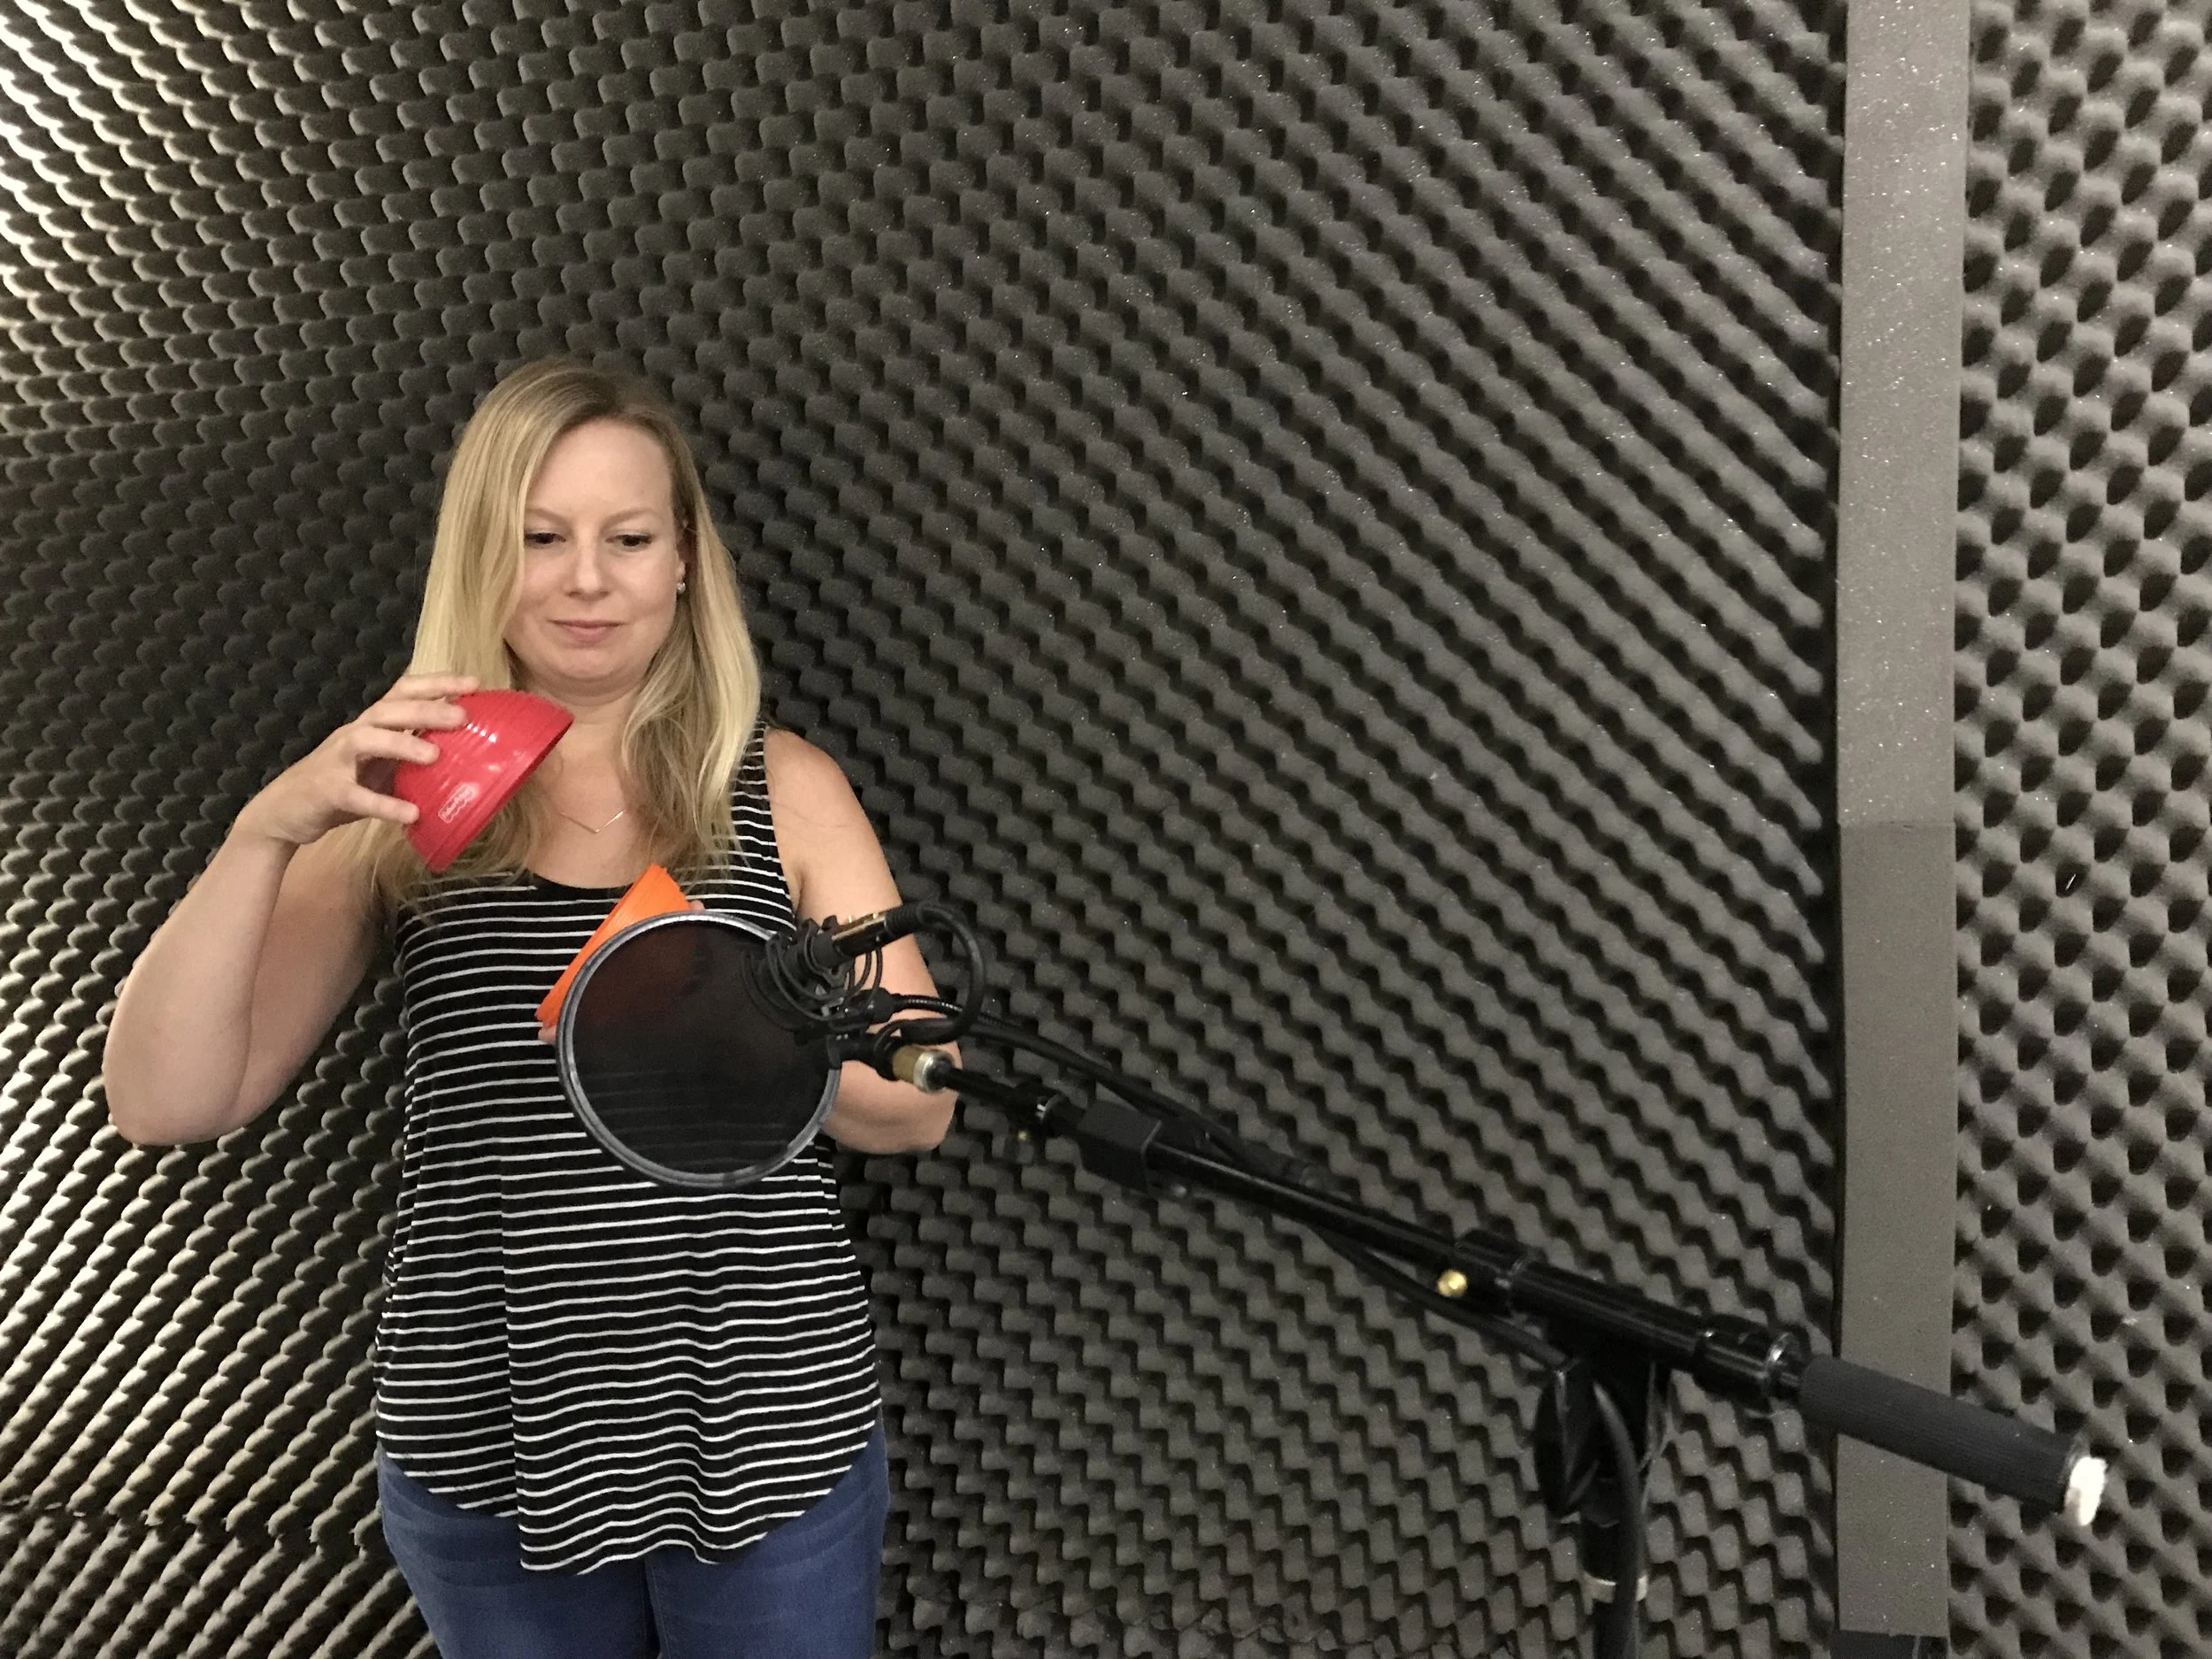
Here at Boom Box Post, we conduct monthly Lunch and Learn meetings where a rotating member of the team teaches a lesson to the rest of the studio. Whenever it is my turn to teach a Lunch and Learn lesson, I always try to rack my brain for a topic that I either don’t use on an everyday basis, or would personally like to learn more about. This month I chose Impulse Responses and Convolution Reverb.
I find this particular topic very interesting for a few reasons. First, it requires getting up out of that office chair! I’m always down for active and interactive audio experiences. Second, I love customizable audio options. It isn’t often that you find EXACTLY what you’re looking for, so the ability to create custom reverbs is always very useful. And lastly, it is a topic that I always knew about but have never personally done, so I figured diving right in was the best way to get a proper hands-on Convolution Reverb and Impulse Response experience.
At Boom Box Post, we specialize in sound for animation. Although sonic sensibilities are moving toward a more realistic take, we still do a fair amount of work that harkens back to the classic cartoon sonic styles of shows like Tom and Jerry or Looney Tunes. Frequently, this style is one of the most difficult skills to teach new editors. It requires a good working knowledge of keywords to search in the library--since almost all cartoon sound effects are named with onomatopoeic names rather than real words like “boing”, “bork”, and “bewip”--an impeccable sense of timing, and a slight taste for the absurd.
I used to think that you were either funny or not. Either you inherently understood how to cut a sonic joke, or you just couldn’t do it. Period. But, recently, I began deconstructing my own process of sonic joke-telling, and teaching my formula to a few of our editors. I was absolutely floored by the results. It turns out, you can learn to be funny! It’s just a matter of understanding how to properly construct a joke.
Ableton Live is a DAW that has been blowing up the music production scene in recent years. With its powerful ‘in-the-box’ effects processors, built-in Sampler instruments, and MIDI data parameters galore, Live has been the go to workstation for pioneering beat makers and EDM artists around the world. So why can’t us Post-Sound peeps have a little fun too? Using Live’s built-in Drum Rack and Simpler instruments, I’ll share with you a simple technique to build a Game of Thrones type battle scene ambience.
We recently said goodbye to another class of interns here at Boom Box Post and the timing seems right to bring up a theme we get from a lot of the talent that complete our program. They want to know how to avoid getting fired when beginning their careers. While this is in fact a very smart question to ask, I thought I’d spin things in a more positive light and collect some ideas not simply avoiding termination but truly impressing on the job.
In our BBP blog, we spend a lot of time talking about how to make cool sounds and when to cut those sounds. But, there's one key element to artful sound design that we don't often talk about: when not to cut any sound. I'm not talking about utter silence. I'm talking about choosing which moments you highlight with sound and which you allow the picture alone to carry. And how do you decide? This question is often one of the biggest issues that new and seasoned editors alike have and one that gets surprisingly little attention.
We've all been there, right? You're setting up a home studio, and notice that although you finally have all the right gear, your room is sounding less than optimal. Clap once, and you hear a ping-pong of reverberations that make your ears recoil and your heart sick. So, you look up acoustic panels only to find that they're priced for princes. In this post, I'll share with you how to make inexpensive yet high quality acoustic panels on your own.